|
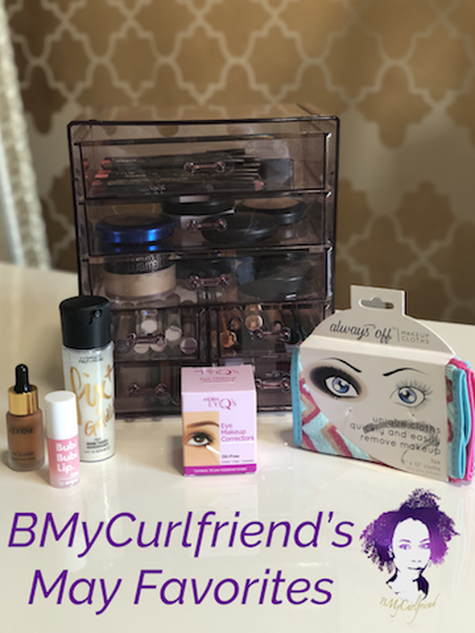
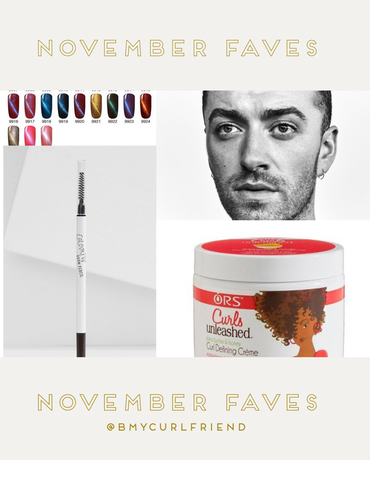
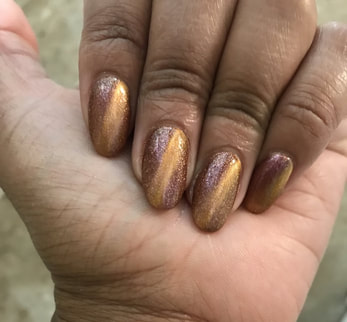
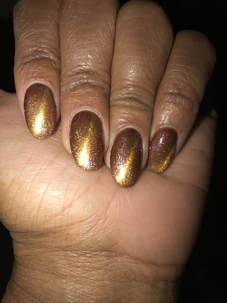
It's my birthday Monthhhhhh!!! May 3, Taurus' stand up! LOL. This year is flying by. I can't believe we are at the halfway point!!! So I've been slacking on my faves because honestly, not a lot of products have really stood out to me. Lucky for you though, I have started to accumulate a few more items that I have truly grown to love. Read below to find out what they are! 1. Andrea Eye Q's Eye Makeup Correctors (Amazon.com, 50 pack for $4.11) Smudged your eyeliner? Winged eye falling a little flat? Less than perfect lipstick application? This is the product for you. This product allows you to correct common makeup mistakes with a precise q tip like applicator. Yea, I know. You could just dip a qtip inside of makeup remover but this is so much easier lol. 2. Always Off Makeup Cloths (Amazon.com, 3 pack $3.99 I love wearing makeup, although cleaning my face at the end of the day can be a pain in the butt. I normally use the Neutrogena Makeup Remover wipes (great product), but they leave an oily residue on my face. I always wished I could just get an even removal with a wash cloth without staining them ( mine are white lol). Enter these Always Off Makeup Cloths. All you have to do is wet the cloth ( adding your favorite facial cleanser is optional) and watch your makeup disappear. Nope, its not the same as a regular wash cloth. Try it and see. 3. Bubi Bubi Lip. (Amazon.com, $16) I LOVE LIPSTICK. I felt the all caps emphasis was necessary lol. Placing lipstick on dry, cracked lips is a no go, especially if its a matte formula. Of course, I always use some type of chapstick but sometimes your lips need a good exfoliation. Bubi Bubi Lips is perfect for this. It boasts being a lip exfoliator without the use of plastic microbeads. I place it on a q-tip and spread it all over more lips and let it sit for 5 minutes or so. Immediately after application, you will feel a bubbling effect, nice! I'm a sucker for effects lol. Once the 5 mins have passed, wipe the product away and rinse to reveal smooth, exfoliated lips! 4. Eloise Get Glowed Illuminating Drops, Gold Getter (Eloisebeauty.com $33.50) I know I listed this in my January Faves but the Gold Getter color is everything!!! I was on the waiting list for months and finally snagged this one. You know this is a great product if I listed it twice. Also, a little goes a long way. 5. Makeup and Jewelry Storage Case (Groupon.com $27.99) I love this storage case because it helps me to keep my makeup super organized. I hate looking for my makeup when I sit down to do my makeup. I use the case to store my liners, powders, highlighters and liquid lipstick. Its also available in a variety of colors. 6. MAC Fix Plus, Goldlite (maccosmetics.com $26) This setting spray is absolutely gorgeous. It is filled with gold shimmer. I love it because it really adds that extra glow to your face on top of your regular highlighter. Be sure to shake it well before you use it!! Have you tried any of these products/items? Let me know in the comments and check out the video below! It's almost 2018!!!! I just wanted to share with you guys my favorite things for the month of December. I'm going to list them below and the details of each one can be seen in the video below! Enjoy and be sure to share your December Faves in the comments section. Happy Holidays! 1. Vivian Lou Insolia Couture Weight-Shifting Insoles vivianlou.com 2. Fenty Beauty Stunna Lip Paint sephora.com 3. Kat Von D Color Correcting Eye Shadow Primer (medium) sephora.com 4. Colourpop Supernova Shadows (Hard to Empress, Dragon, Firecracker) colourpop.com 5. CoverFX Illuminating Setting Spray sephora.com Have you tried any of these? Let me know and watch the video below to get the deets on why they are my favorites for the month. So its November! Can you believe this year is almost over?? I can't. 2017 hasn't been as great to me as it was for Cardi B but it was decent lol. Check out my November favorites (listed in no particular order) and be sure to leave some of yours in the comment section. 1. Cateye Gel Nail Polish (#9912) So I'm pretty basic when it comes to nails. I get them done every 2 weeks and I normally get gel polish over acrylic. Nothing special. But the last time, I decided to be adventurous and try the cat eye gel nail polish. I was impressed! The nail tech painted one coat over my nails and then took a magnet to each individual nail and it creates a light reflective swirl on each nail. Pictures don't do the true effect justice. Check out the pics below.
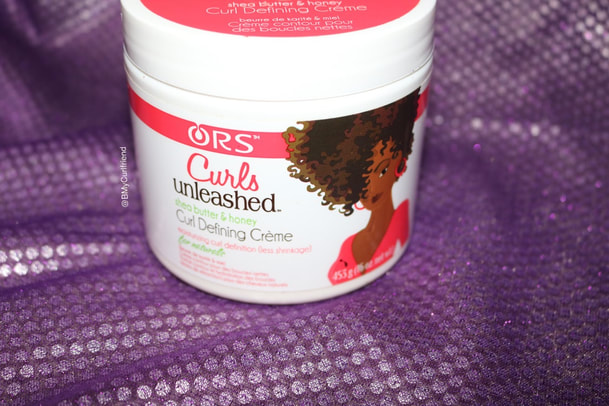
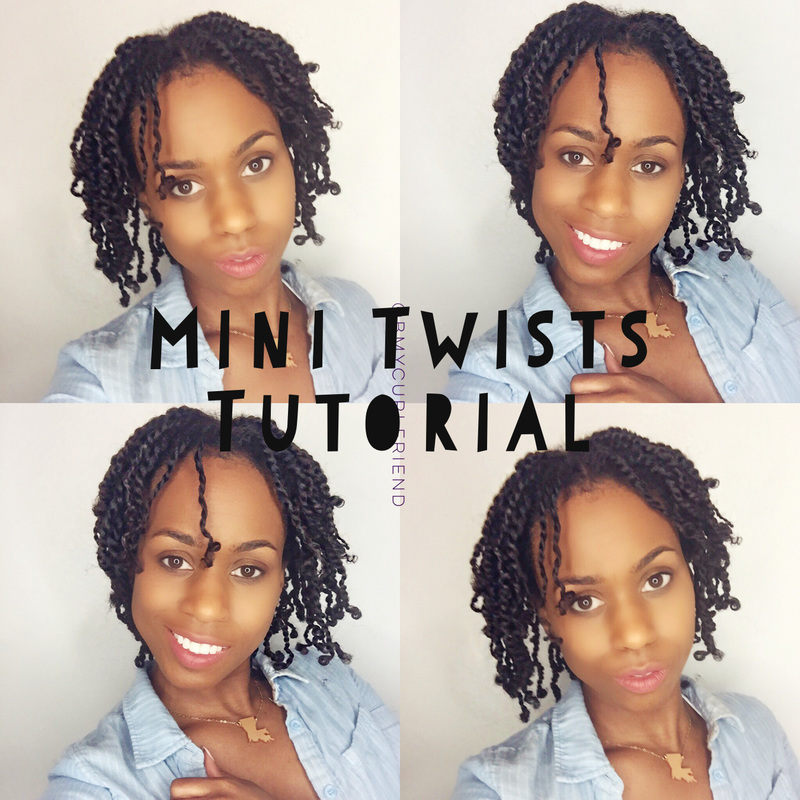
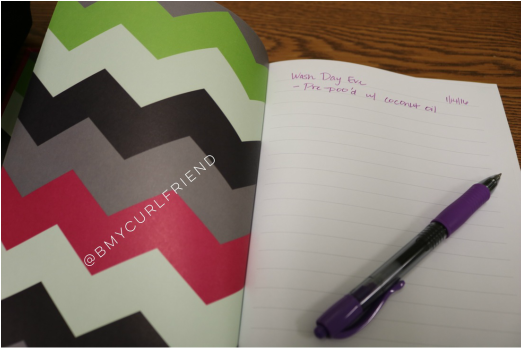
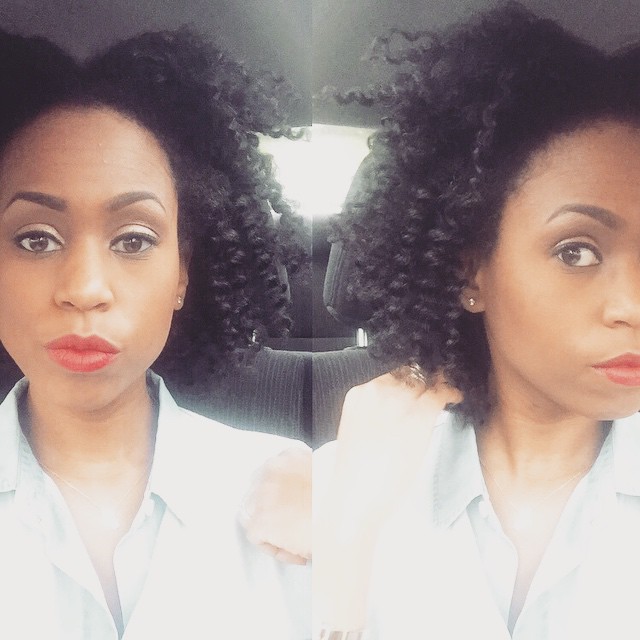
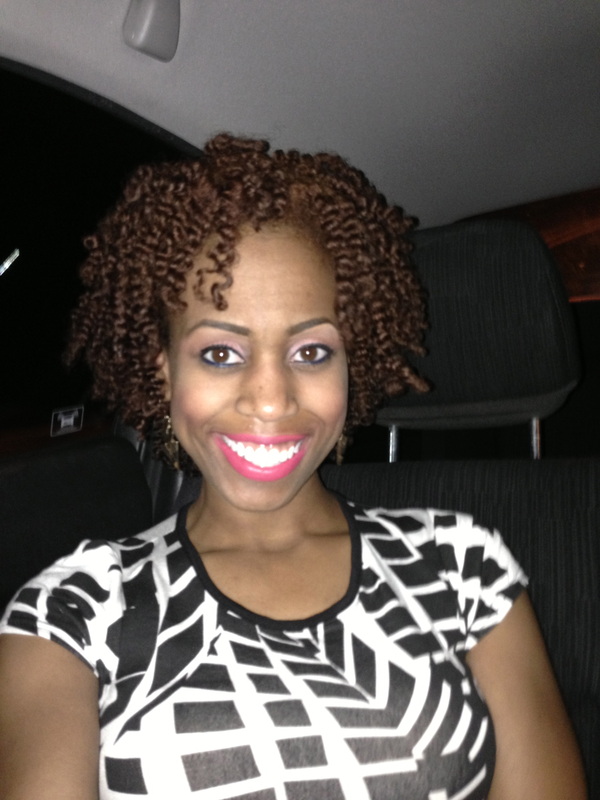
This spring and summer I plan to go on a protective style binge! My goal is length retention. The first protective style that I chose was mini-twists. I kept this style for 2 weeks. If you're interested in seeing how I achieved this style, check out my new video tutorial on mini-twists! Sn: The next time I do this style, I am going to use some type of curl pudding. I think any product that has a little hold would have given me a more polished outcome. How do you do your mini-twists? What are your favorite products to use for them? 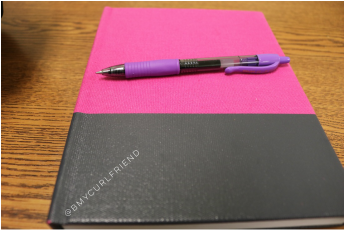 9 times out of 10 when you first went natural you had a plan. You knew why you went natural and how you wanted your hair to look. You read the popular natural hair blog posts, watched YouTube videos and hung on to their every word. Then you went and purchased every product @Ihavethebiggestandbestnaturalhairever said to buy and commented "yassss and #hairgoals" on every single picture. Oh...that was just me lol? Personally, somewhere between the big chop and trying to get my hair to look like every hair crush imaginable, I have purchased countless products and tried countless techniques. Sometimes these techniques worked terribly and other times they worked great. Some blogger's "holy grail" leave-ins worked amazing for me and others not so much. My point is, when you start to try so many different products, techniques and regimens you are bound to start to forget what is actually working for you and what isn't. This lead me to start keeping a hair journal. In my hair journal, I keep track of everything related to MY HAIR. I list the products, techniques and styling methods I used. I even keep track of when I moisturized my hair. This my way of taking charge of my hair goals. Here are 5 reasons you should keep one too. 1. To Be Able to Know Which Product Did What Have you ever had a wash day that went perfectly? Your hair detangled with ease and it was super soft. Styling was a breeze and the next day you felt very Tracy Ellis Ross-ish lol. Your twist out was super defined and you mixed about 3 different products. Fast forward to next week's wash day and you look a hot mess. What changed? Which product actually gave the definition? Was the combination necessary? Being a product junkie sometimes leaves me unable to figure out exactly which product caused a change in my hair. Your hair journal will lend you a clue. 2. To Pinpoint When Your Hair Made Positive/Negative Changes The 2nd reason goes hand in hand with the first one. Sometimes I get so caught up in the routine of doing my natural hair and what has worked for me in the past, that I am unable to recognize when a certain method or technique has simply stopped working for me. Other times, I look back at my good hair days and I have no idea what I was using at the time to make my hair look so great. Keeping a hair journal will allow you to see exactly when you made a change. 3. To Discontinue the Use of Unnecessary Products and Techniques Jane Doe swears by using product X for her twists out, three strand twist outs, and double braid-flat-twist-curl-and-go (I made that one up lol). You have tried product X on 3 different occasions and your hair resembles a bird nest. Document this in your journal and stop using it! Maybe you're like me and you swore by the LOC method but now you've noticed your hair isn't as well moisturized as it used to be. You know how they say don't force love, relationships or ponytails? Yea...that applies to natural hair products too lol. Your hair journal will force you to stop forcing it and explore other options. 4. Set Real #hairgoals and Stick to Them Keeping a hair journal will help you figure out what works for you instead of what works out for your favorite hair crush. Think of it as a personalized hair blog that has been customized just for you! There's absolutely nothing wrong with borrowing ideas and product suggestions from other naturals but at the end of the day what works for your hair crush, may not necessarily work for you. Once you have set your hair goal, your hair journal will help you stay consistent until you achieve your goal. 5. To Stop Being a Product Junkie Ok...maybe keeping a hair journal won't stop you from being a product junkie, but at least you will be a productive product junkie. Once you have been keeping your hair journal for a while, I am willing to bet that you will begin to see commonalities in the products that work for your hair and the ones that don't. Once you know what ingredients the products that don't work for you have in common, you can eliminate these when you go on product purchasing binges. If coconut oil doesn't work for you (God forbid!), it shouldn't matter how many people recommend a particular product to you. If it contains coconut oil, don't buy it. Do you keep a hair journal? What are some other things you would add to your hair journal? Sound off in the comments section. If you are over shrunken twist outs and tiny curls this post is for you! There are only a few steps between you and elongated, stretched hair that is ready to be styled. This is perfect for us naturals, who aren't quite ready to battle wash day, but still want rock a new hair style. Follow the simple steps from below. This method was adapted from one of my favorite YouTubers Naptural85.
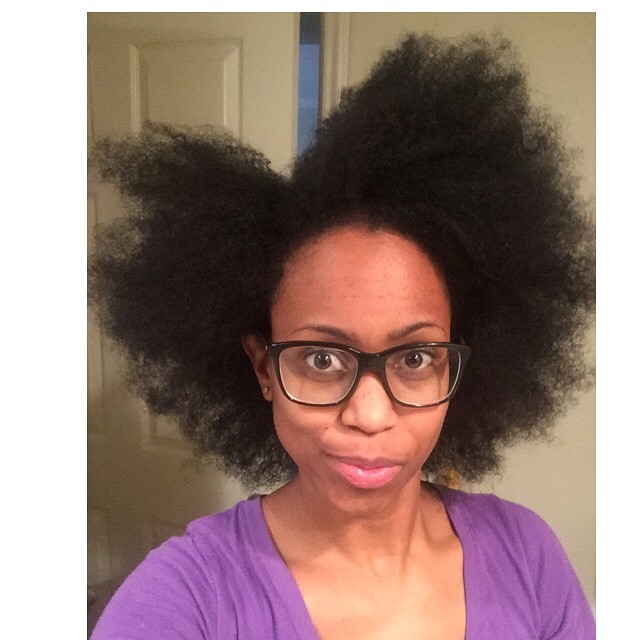
1. Start off with hair that has been previously styled (twist out, braid out, flexi rod set, it doesn't really matter). This gives you a base that has already been somewhat stretched. 2. Divide your hair into 3-4 workable sections. I used banana clips. 3. Take one of the sections down and take an even smaller section out. Re-clip the remainder of the section to keep it out of your way. 4. Take the smaller section you just divided out of the main section and carefully finger detangle the section. 5. Once you have finger detangled the smaller section, hold the section at the root and comb it out with a wide toothed comb. **holding it at the root is very important, because you don't want to break your strands** 6. Repeat this throughout each section until you have "blown out" your entire head. This method is essentially detangling your hair dry. The important thing is to be careful, work in small sections and DO NOT ADD WATER to aid you in detangling. This will defeat the purpose and cause your hair to shrink. I also added a little homemade shea butter whip to my hair before I began. The recipe can be found under the link below 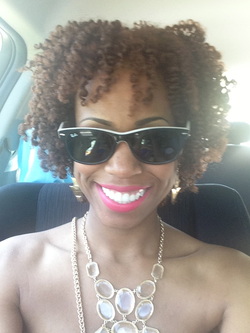 It is no secret that my favorite natural hair style to date is the twist out because of its versatility and longevity. I am always trying to find new ways to style a twist out, whether its fresh or a few days old. My favorite characteristic of a twist out is its ability to elongate my hair. The twist out that I am about to share with you gave me the most stretching I have experienced to date!! My hair looked closer to its true length and it was super defined. Before doing this twist out, I used the LOC (liquid, oil, cream) Method to ensure that my hair retained the oils and moisture that I put in it. Check out the video below to see how I achieved this look. 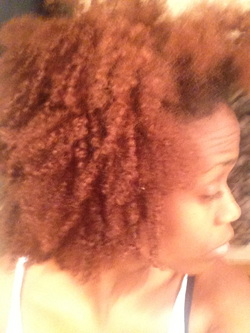 Le Sigh. The last time we talked about this dry hair problem I thought we had settled it ***inserts angry face**. I started here with determining the porosity of my hair (low), then I went on to determine that the LOC method was the best moisturizing technique for my type of hair. Case closed right? Wrong. A lot has changed about my hair since then. I got my hair colored in April of 2013 and I must admit I began my moisturizing and conditioning attempts zealously, but I am a little ashamed to admit that I became lazy. I had box braids installed in June 2013 for 2.5 months and became comfortable with not doing much to my hair. It literally just dawned on me (right before creating this post lol) that I have not been considering the fact that my hair is colored and that it needs more attention. I have been floating around haphazardly moisturizing only on co-wash day and expecting some type of moisture miracle. Crazy right? After giving myself a firm slap on the hand for neglecting my tresses, I began to research again about moisturizing techniques for natural hair. I stumbled upon a video from Naptural85 about hot oil treatments and decided to give it a try. I deviated slightly from Naptural85's recipe. Hot Oil Treatment: Grapeseed Oil Olive Oil Sweet Almond Oil Castor Oil Jojoba Oil Vitamin E Oil Honestly, I just freestyled the amounts of oils based on my hair type. I made the majority of my hot oil treatment with the lighter oils because I have low porosity hair (2 ounces jojoba oil, 2 ounces olive oil). I used about 0.5 ounces of the vitamin E oil and 1 ounce each of the remaining oils. I mixed it all in a bowl with my fingers. I started with dry hair. Then I massaged the oil from root to tip through my hair, section by section. After I had oiled each section, I smoothed the oil throughout all the sections collectively. I also massaged my scalp with the oil. This stimulates the scalp and feels great ; ). I then put a plastic processing cap on my head. If you have big hair like mine, you can either use two caps or twist your hair in large sections to make it fit under the cap. I then sat under a hooded dryer for 30 minutes. The oil that I had left, I put in a spray bottle and filled it with water. This will be my daily moisture mist. After the dryer, wash and condition your hair as normal. I used Giovanni Tea Tree Triple Treat shampoo and Aubrey Organics GPB conditioner. Curlfriends...let me tell you. My hair was so soft and virtually detangled before I ever put a comb to it or did the LOC method. I am VERY PLEASED with this treatment. I followed this with the LOC (liquid, oil, cream) method using Giovanni Direct Leave-in/Kinky Curly Knot Today Leave-in mixed, the hot oil treatment moisture mist, and Camille Rose Curlade Moisture Butter. I am going to be sure to do this once a month, along with deep conditioning once every week to week and a half. I am anxious to see if this improves the dryness of my hair. If you decide to try this treatment, please let me know. Either email me the pics at [email protected] or tag them on instagram or twitter with #bmycurlfriend. Good luck!! |
Archives
July 2020
Categories
All
|
|
|
 RSS Feed